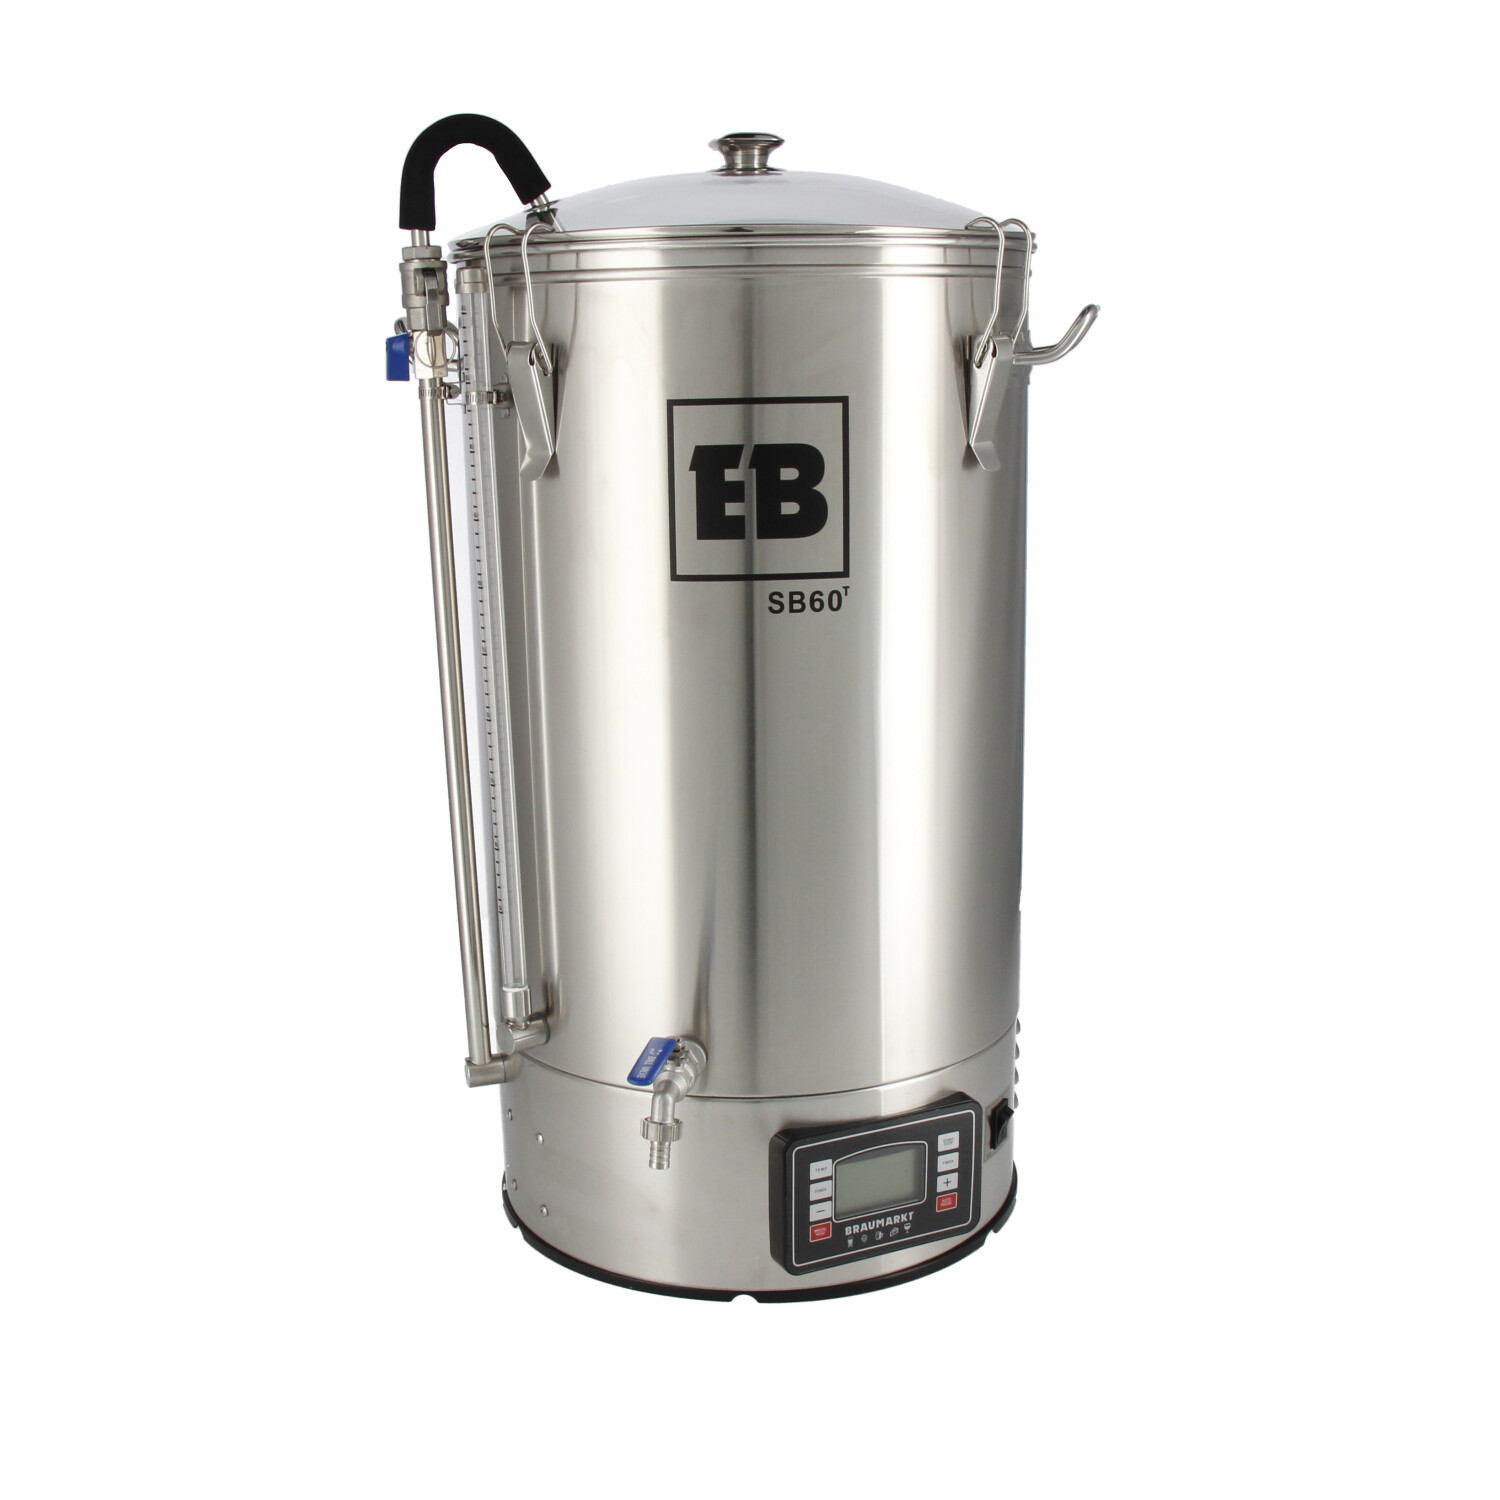
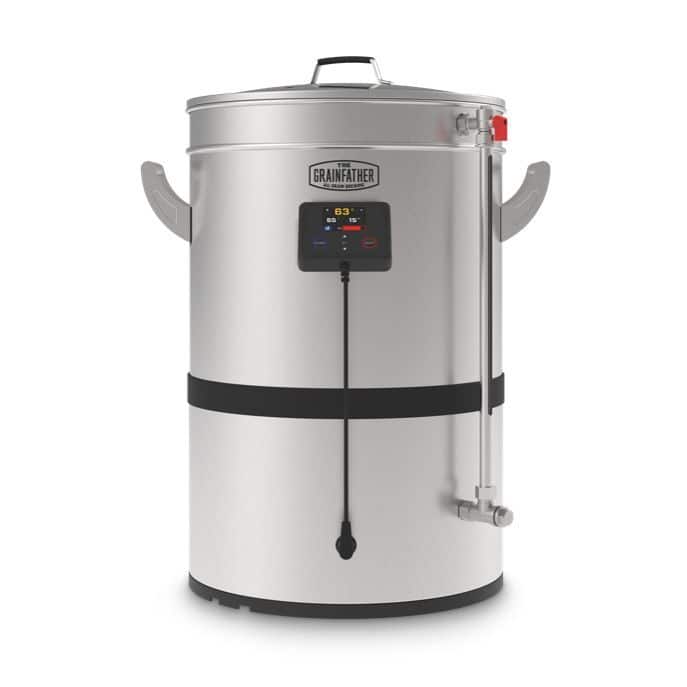
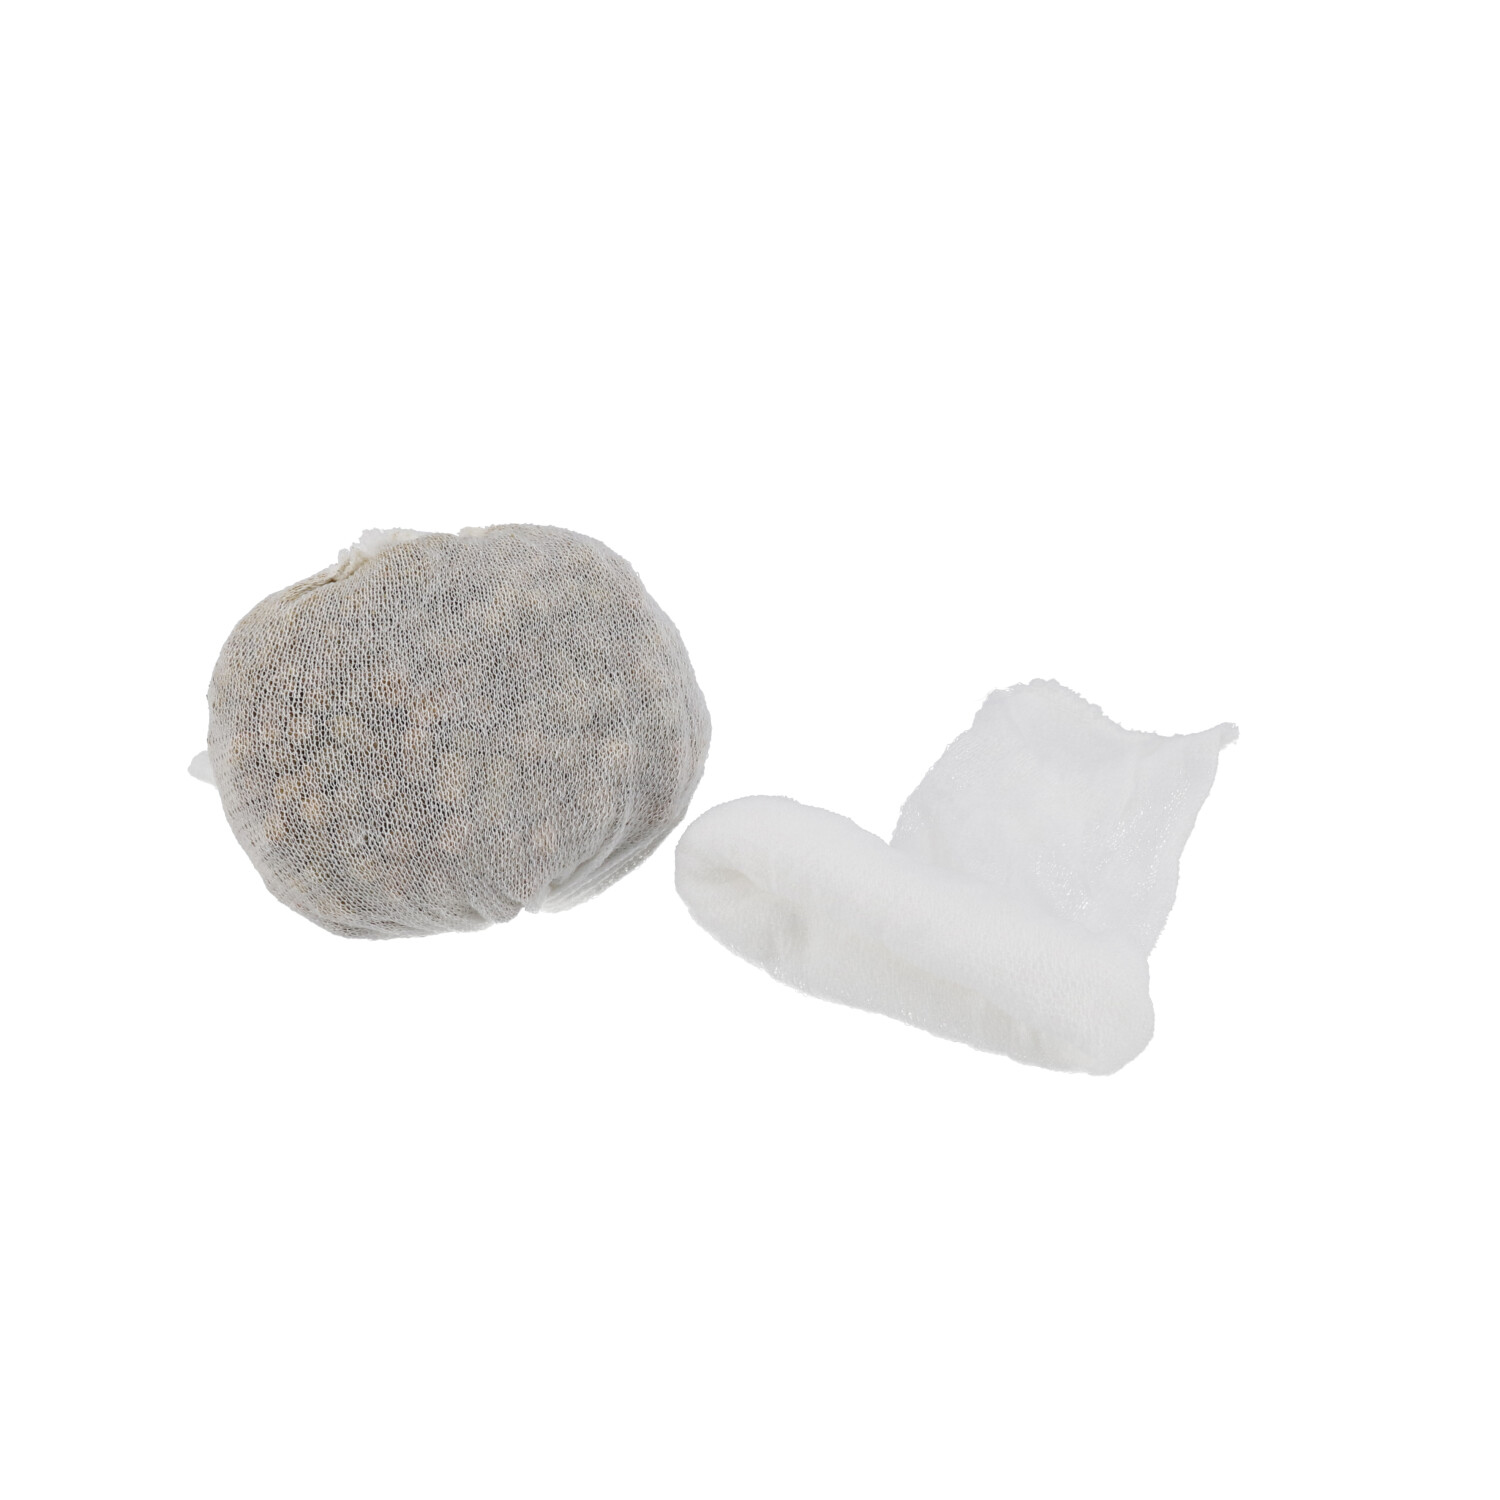
During the boiling process, the wort obtained is heated to 100°C and hops are added, which sterilises the wort, precipitates lees and makes the hop bitters soluble.
Why boil the wort?
Boiling the wort is crucial for several reasons:
Sterilisation: boiling kills potentially harmful microorganisms in the wort. This prevents unwanted fermentations and infections that could affect the flavour of the beer.
Removal of undesirable flavours: Boiling helps to remove or reduce undesirable flavourings and compounds in the wort. These include, for example, DMS (dimethyl sulphide), which can cause an unpleasant flavour in cooked vegetables. Open boiling, i.e. without a lid, is required for this in order to drive out the DMS with the steam.
Concentration of the wort: During boiling, some of the water in the wort evaporates, which leads to a concentration of flavourings and sugars. This contributes to the fullness of flavour and the alcohol content of the beer.
Hop flavour and bitterness: During boiling, hops are added to impart flavour and bitterness. Boiling enables the desired bitter substances to be converted from the hops. Late additions of hops release desirable flavour components without reducing them again through prolonged evaporation.
Step 1: Preparing the brewing kettle
Before boiling can begin, the brewing kettle must be prepared. The kettle should be clean and free of residue to avoid impurities in the beer. Make sure you have all the necessary utensils and ingredients to hand, including the hops and any additional spices or flavourings, depending on the style of beer.
Step 2: Heating the wort
The wort obtained from the lautering process is poured into the brewing kettle and heated to the desired temperature of 100°C. If you lauter directly from the lauter tun into the brewing kettle, you can start heating directly and save time.
Step 3: Adding the hops
Once the wort has reached boiling temperature, the boiling time begins. It is now decided when to add the hops. This can be done at the start of the boil. After 15-20 minutes, when a visible protein break occurs, the bittering yield is even higher. Be sure to check for foam formation at the start of the boil and when adding the hops. As with boiling over milk, the high protein content of the wort can lead to boiling retardation.
The hop varieties you use, as well as the time and duration of the boil, influence the flavour and bitterness of the beer. There are various methods of adding hops:
Bittering hops: Bittering hops are usually added at the start of the boil. This gives the beer the desired bitterness due to the usually increased alpha acid content. The boiling time for bittering hops is usually 60 minutes.
Aroma hops: Aroma hops are usually added towards the end of the boil or even after the heat source has been switched off. This preserves priority aromatic compounds in the hops and gives the beer its characteristic flavour.
Step 4: Boiling and controlling the boiling time
During the boil, you need to monitor the wort and ensure that it does not boil over. The boiling time varies depending on the beer recipe and hop variety. It is important to keep to the exact time to achieve the desired bitterness and flavour extraction. Use the widely available brewing calculators on the internet to determine the amount of hops and boiling time.
Step 5: Removing hot trub
Removing hot trub is an important step in the brewing process that has a significant impact on the quality and clarity of the beer. Hot trub consists of proteins and other solid particles that flocculate during the boiling of the wort and settle to the bottom of the brewing kettle. Hot trub is usually removed by a whirlpool effect and draining the clear wort, leaving the trub deposits behind.
The effects of hot trub on the beer are manifold. If the hot trub is not removed, it can leave undesirable flavours and bitterness in the beer. It can also affect the shelf life of the beer and produce cloudy wort. Proper removal of hot trub results in a clearer and more flavourful beer and helps to keep the beer fresher for longer. Therefore, carefully draining or filtering the wort to remove the hot trub is an essential step for brewers to achieve a high quality end product.
Step 6: Cooling the wort quickly
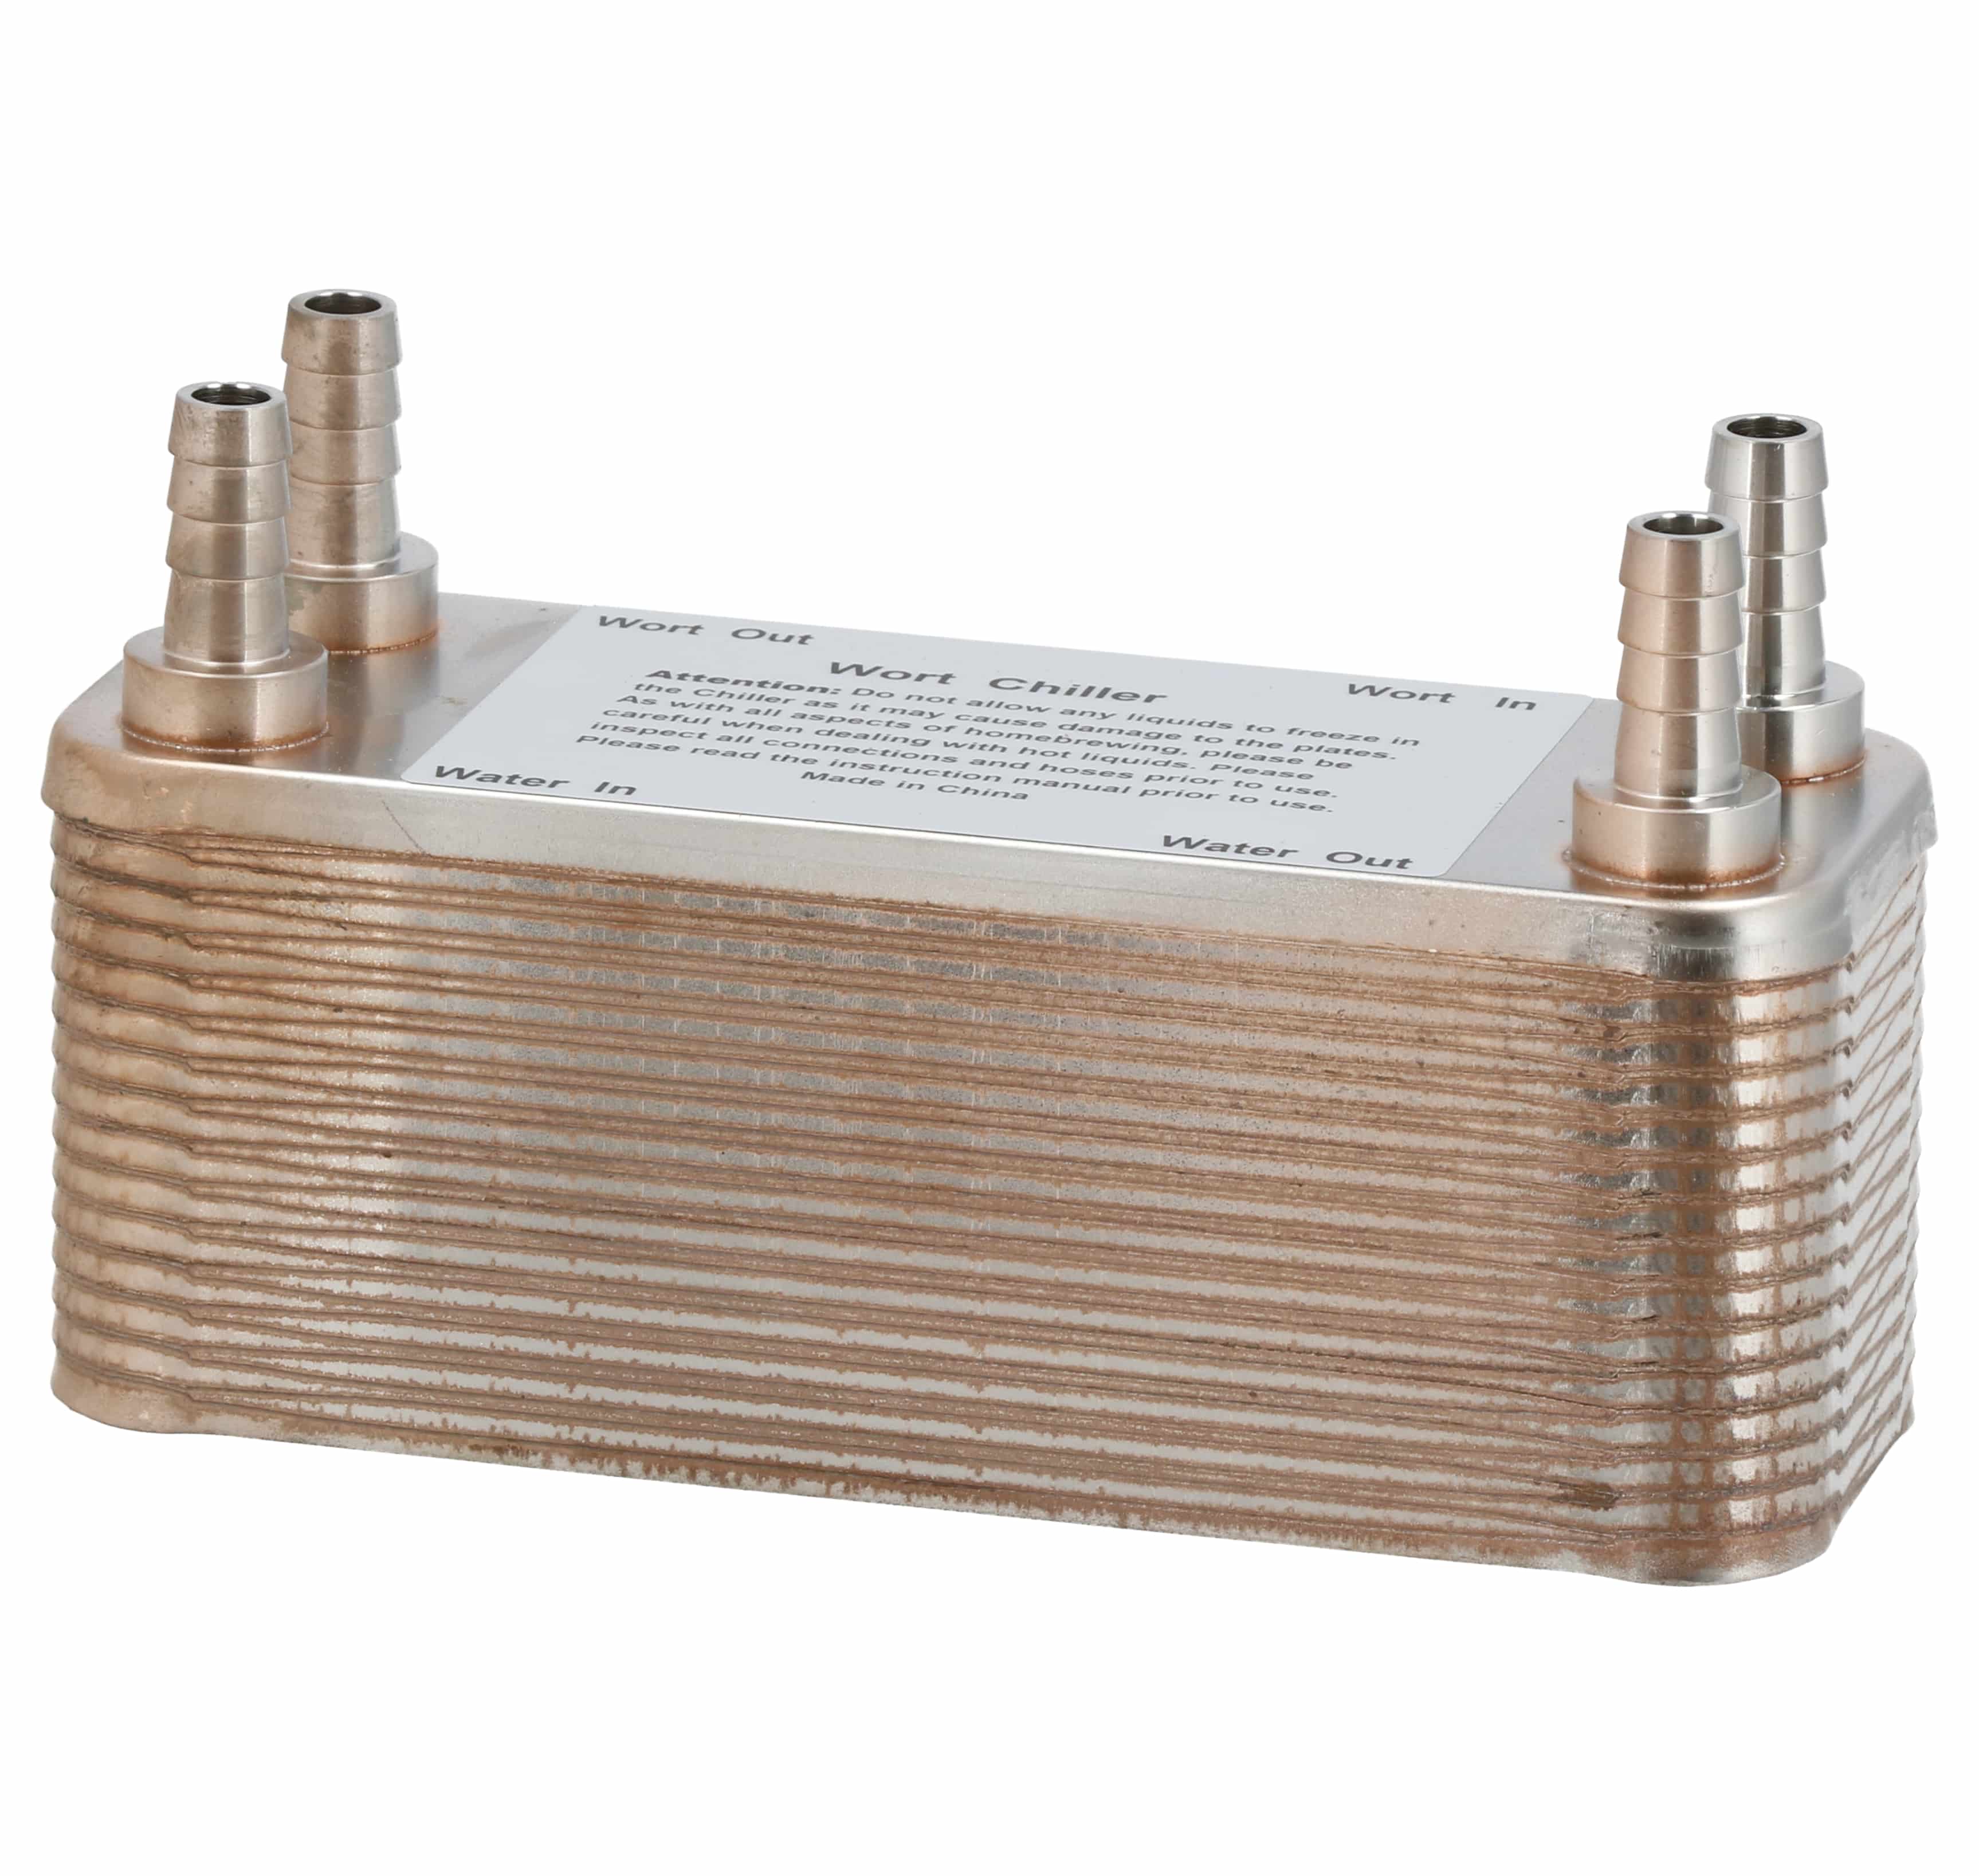
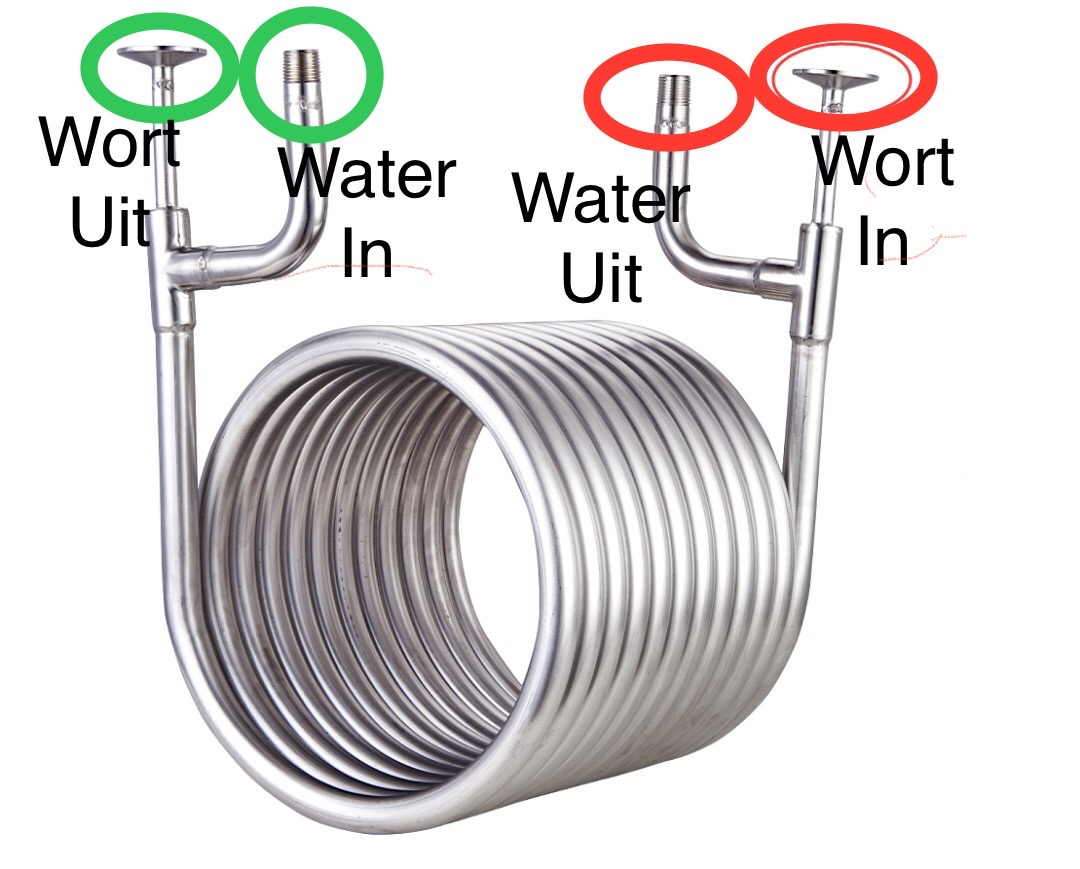
After boiling, the wort needs to be cooled quickly to add the yeast and start fermentation. Cooling quickly also helps to prevent unwanted flavour compounds that can develop during slow cooling. This can be achieved using a special heat exchange system, cooling coils or by immersing the brewing vessel in an ice bath.
Concluding remarks
Boiling the beer wort is a crucial step in beer production that influences the final flavour, bitterness and purity of the beer. On a hobby brewer scale, this process offers the opportunity to be creative and brew unique beers with individual flavour profiles. By carefully controlling the boiling time, hop addition and temperature, hobby brewers can produce beers with the desired character and flavour. The boiling process is therefore a crucial step on the way to a home-brewed beer that matches your own preferences and ideas.
-Jan Dubenkropp
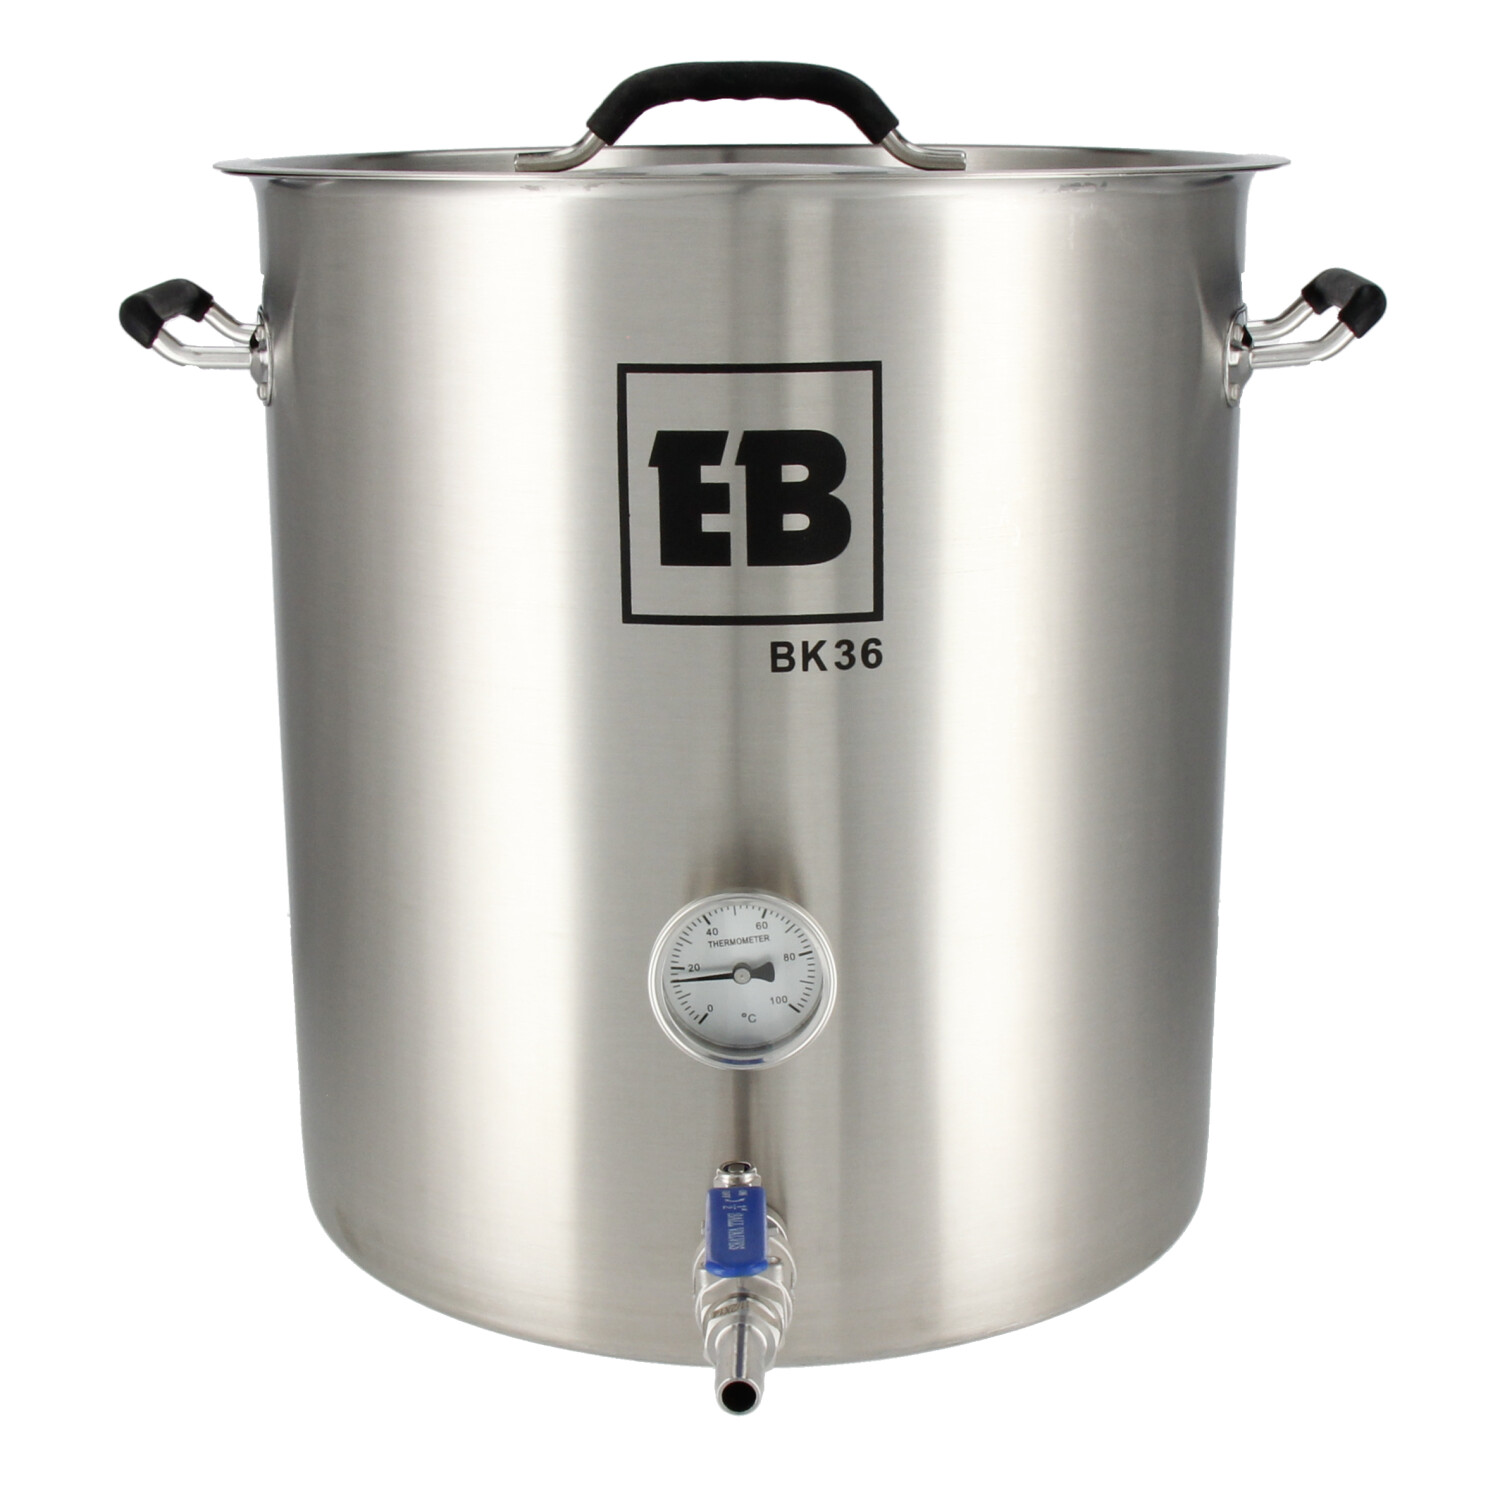
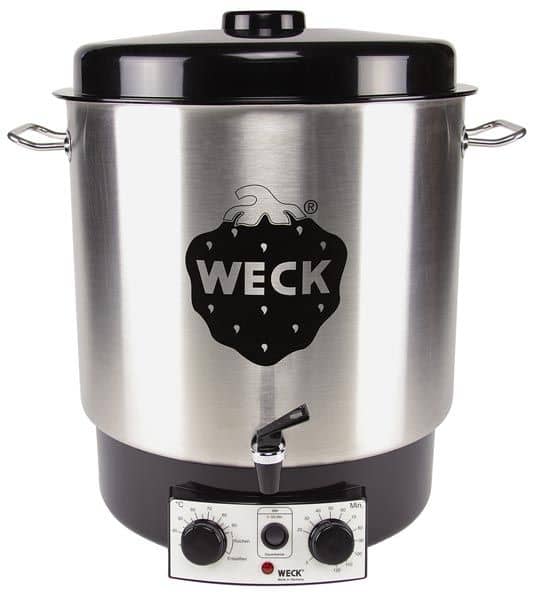
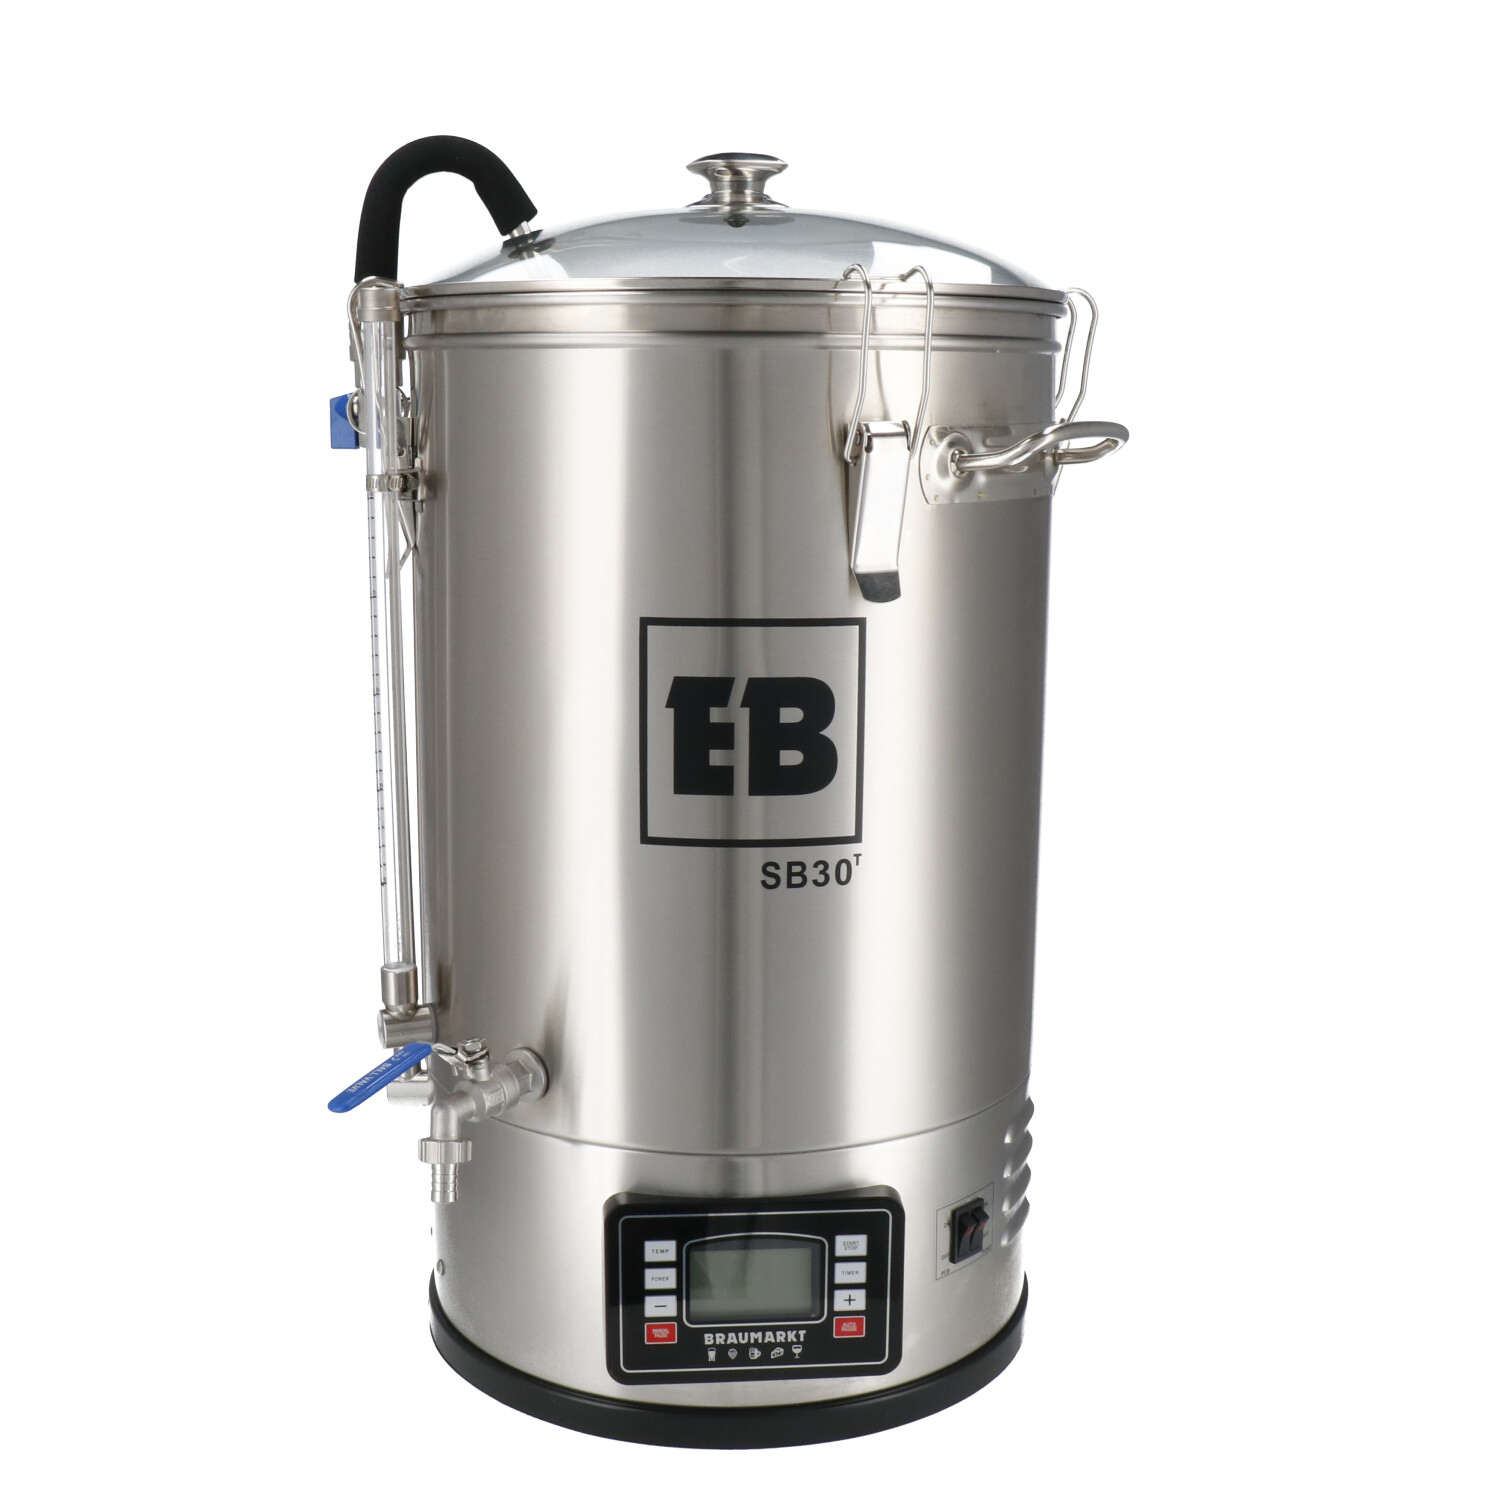
| EasyBrew Stainless Stell Brewing kettle 36L with discharge tap | | EasyBrew SB 30P Brewing System | Grainfather G40 Brewing System | Speidel Braumeister Brewing System Plus 20L |
Digital Temperature controll | | | | | |
Timer & Temperature settings | | | | | |
Automatic stirring /Circulation | | | | | |
Integrated Lautering
(Grain basket) | Lauter tun /BIAB necessary | Lauter tun /BIAB necessary | | | |
| | | | | |
| | | | | |
| | | | | |
| | | | | |
| | | | | |
| | | | | |
| | | | | |
| | | | | |
Braumarkt Beer Brewing Guide
